Imagine we want to use pandas or numpy in our AWS Lambda function. However, it is not available by default and we can’t do a pip install here to install them… What do we do?
The solution is defining a layer. But, what exactly is a layer?
In AWS Lambda, a layer is a reusable, sharable component that contains libraries, custom runtimes, or other dependencies. Layers allow you to manage your function’s code and dependencies separately, making it easier to organize and update your code. Here’s a brief overview:
- Purpose of Layers: Layers are used to package and distribute common components that are shared across multiple Lambda functions. This approach enables you to separate your Lambda function code from its dependencies, keeping your deployment package small.
- Components of a Layer: A layer can include libraries, a custom runtime, or other dependencies. You can use layers to include additional code or data that your function needs, such as SDKs, frameworks, or other utilities.
- Benefits:
- Code Reusability: You can create a layer with common dependencies that can be used by multiple Lambda functions.
- Easier Code Management: Layers help keep your Lambda function code smaller and focused on its primary purpose by separating out the function code from its dependencies.
- Simplified Dependency Management: Layers make it easier to manage external software libraries or runtime dependencies across multiple Lambda functions.
- How It Works: You create a layer, upload its content to Lambda, and then specify the layer in your Lambda function configuration. When the function is invoked, AWS Lambda provides the layer’s content as part of the Lambda execution environment.
- Versioning: Each layer can have multiple versions. When you update a layer, you create a new version of it, which makes it easy to manage updates and rollbacks.
- Sharing Layers: You can share layers with other AWS accounts or make them publicly available to all AWS users. This is particularly useful for libraries or runtimes that are commonly used across a broad set of users.
- Size Limits: AWS imposes certain size limits on Lambda layers. This is something to keep in mind when adding dependencies to a layer. The size limit is 50 MB when uploaded directly through the AWS Management Console, and 250 MB when uploaded as a .zip file through the AWS CLI or AWS SDKs. For functions with large dependencies, you can consider packaging your function as a container image. AWS Lambda supports container images of up to 10 GB in size, which offers much more flexibility.
Now that we know a bit more about layers, let’s see how we can define one.
Define a layer
We have 3 options, depending on the library you want to use you will be able to use each of them or only one…
The reason why you need to do it this way is because AWS Lambda has a very limited space for libraries. If you need more you’ll need to containerize your code as we’ve already mentioned.
Let’s do this example for Numpy.
If we try to import Numpy within the function code we will get an error:

We can fix this by using a layer.
AWS layers
The first option is using a predefined AWS layer. For example, AWSSDKPandas-Python38, which includes some of the most common Data Science libraries like pandas or numpy. This is the simplest way, however, it does not include all the libraries.
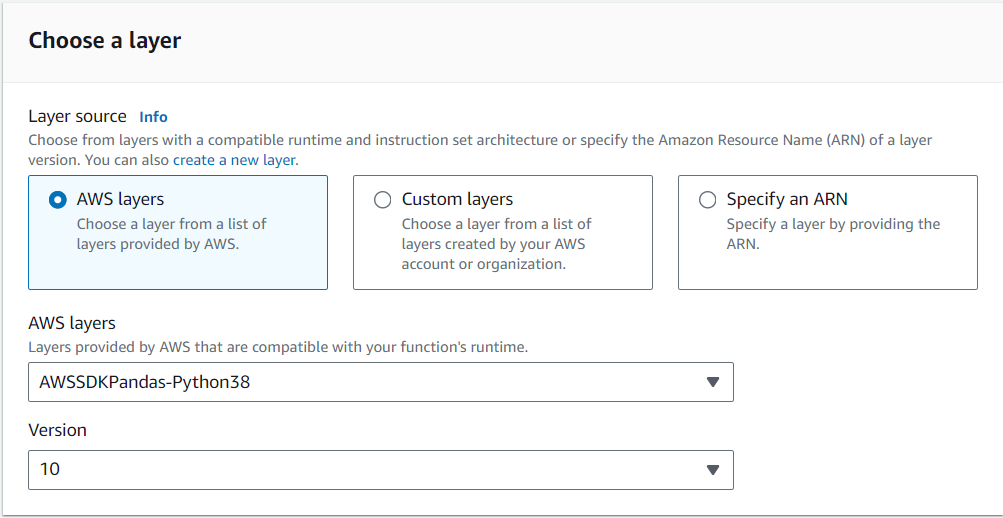
Once this is set we can see that it works:

However, this may not always work, as that AWS pack does not contain all Python packages.
We have another 2 options that offer more flexibility.
Specify an ARN
Some people have already created layers and they share them for free on github. For example, you can look for the package you need in the following github:
https://github.com/keithrozario/Klayers/tree/master/deployments/python3.8
You need to choose the one suitable for your region, otherwise, it won’t work!
In my case:
| numpy | 1.24.4 | arn:aws:lambda:eu-west-2:770693421928:layer:Klayers-p38-numpy:13 |
Copy the ARN:
arn:aws:lambda:eu-west-2:770693421928:layer:Klayers-p38-numpy:13
And paste it here:
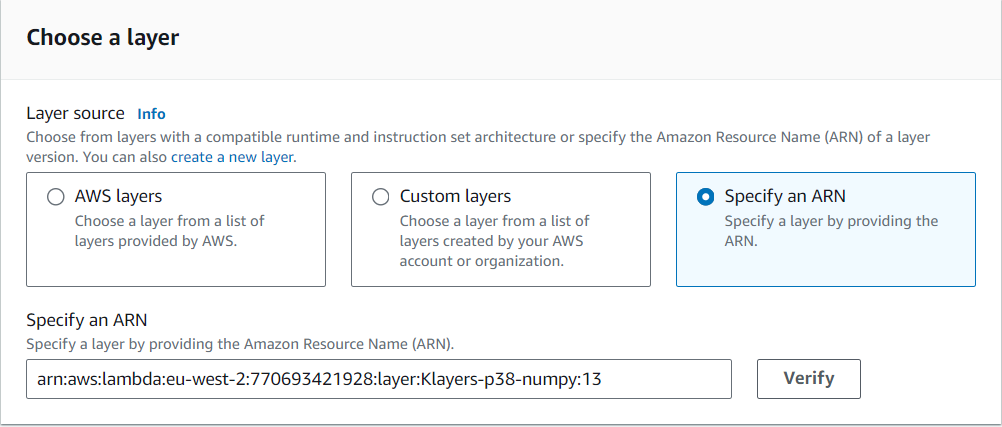
Save changes and ready! You now have the numpy package available.
Custom layers
The last option, and the most general is the Custom layer.
You need to go to Layers, here you have the link (remember to change your region):
https://eu-west-2.console.aws.amazon.com/lambda/home?region=eu-west-2#/layers
Create a layer:
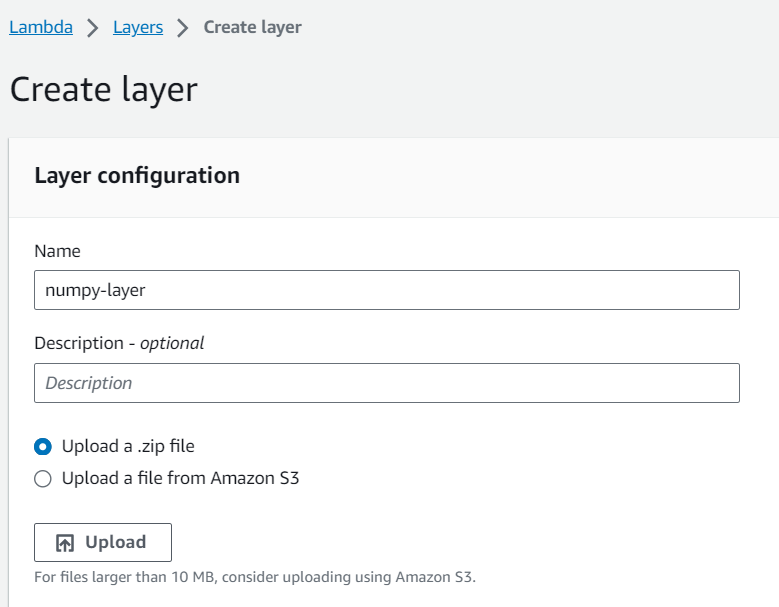
Here you need to upload a zip file. To create this file go to the numpy download website:
https://pypi.org/project/numpy/#files
And download a wheel file compatible with your application:

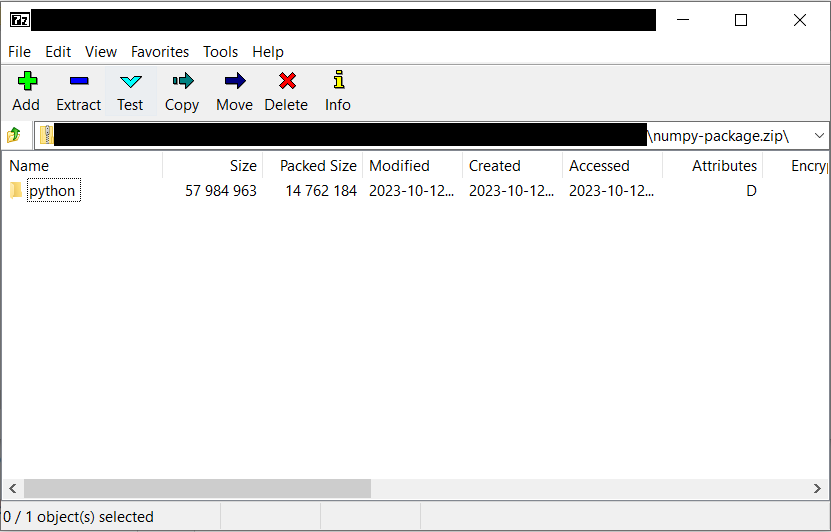
Extract the wheel as if it was a zip file. You’ll get a folder with the following files:
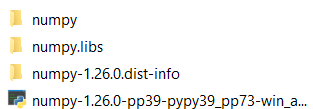
Create a folder called “python” and add the folders inside. Add it to a zip file. It should look like this:
Upload the zip file:
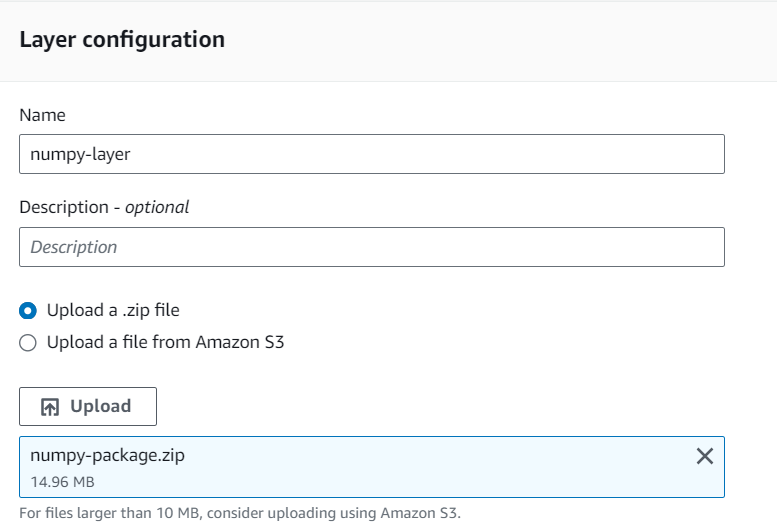
Don’t forget to add the compatibility, so you can select it in the AWS Lambda.

Save it and you are ready to go!


0 Comments