You have your model trained and the endpoint created, but now you need to be able to use it. How can you do that? Let’s see how to use AWS Lambda for that!
But first, what is AWS Lambda? It is a serverless computing service offered by Amazon Web Services (AWS) that allows developers to run their code in response to events without provisioning or managing servers. Here are some common use cases for AWS Lambda:
- Event-driven Applications: Automatically run code in response to various events such as changes to data in an Amazon S3 bucket or updates to a DynamoDB table.
- Real-time File Processing: Process files as they are uploaded to S3, such as image or video processing, data validation, or transformation.
- Real-time Stream Processing: Process and analyze real-time streaming data from services like Amazon Kinesis or Apache Kafka.
- Back-end for Mobile and Web Applications: Build back-end services that are triggered by HTTP requests using Amazon API Gateway or other AWS services.
- Machine Learning Inference: Run machine learning models for real-time inference without the need for dedicated infrastructure.
- IoT Backend Processing: Process data from Internet of Things (IoT) devices and execute code in response to sensor data.
- Chatbots and Virtual Assistants: Implement chatbots or virtual assistants that respond to user inputs.
- Automation and Orchestrations: Automate workflows and perform tasks in response to specific triggers.
One of the key benefits of AWS Lambda is that you only pay for the compute time you consume, and you don’t have to worry about the underlying infrastructure. It automatically scales your applications in response to incoming traffic, and it ensures that your code runs in a highly available environment.
In our case, we will focus on the Machine Learning Inference. We want to invoke our model for real-time inference.
Stay up-to-date with our latest articles!
Subscribe to our free newsletter by entering your email address below.
The first step is to create one lambda function for our model. You can access AWS Lambda by looking for it on the search bar:
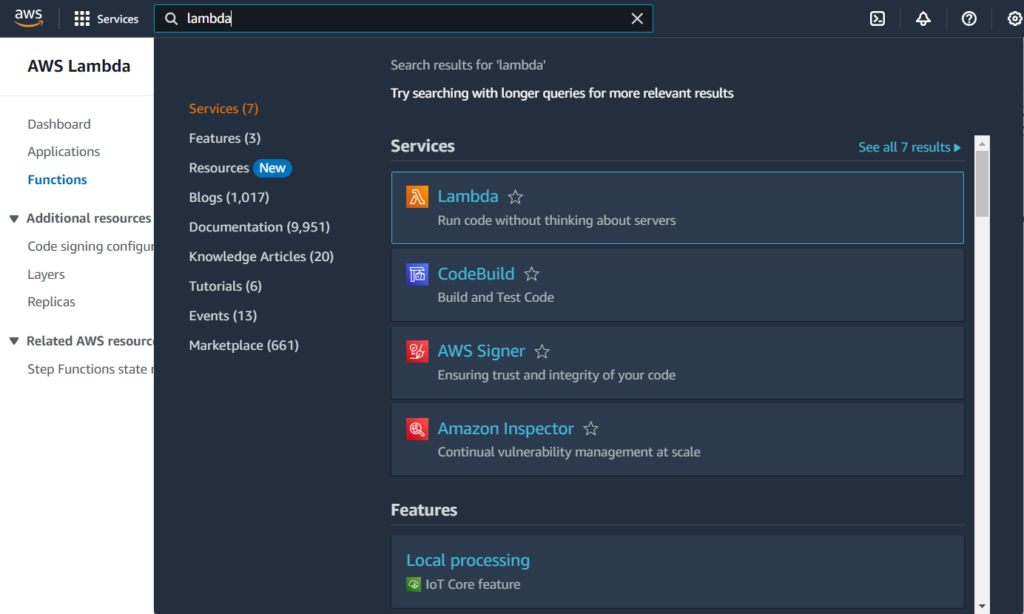
Alternatively, you can go to this URL:
https://console.aws.amazon.com/lambda/home
Click on “Create function”:

Select “Author from scratch”:
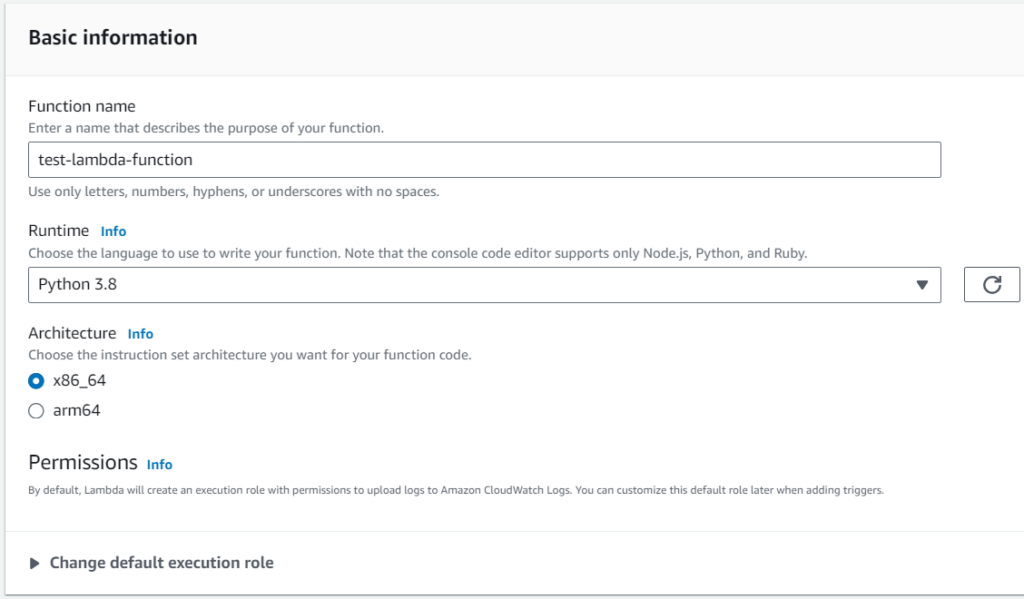
Fill in the basic information of the lambda function:
- Function name: The name of the function
- Runtime: in our case python, we selected version 3.8, but you can select the one you prefer.
- Architecture: we left it by default.
- Execution role: An execution role is an AWS Identity and Access Management (IAM) role that grants permissions to your Lambda function to access AWS services and resources. The execution role is assumed by AWS Lambda to execute the function on your behalf. The execution role needs to have the necessary permissions policies attached to it, allowing the Lambda function to access other AWS services like Amazon S3, Amazon DynamoDB, Amazon SNS, etc. When you create a Lambda function, you specify the execution role to use. AWS Lambda uses the credentials of this role to perform actions on your behalf. You have two options:
- You can use an existing one (Use an existing role / Create a new role from AWS policy templates)
- Or create a new one (Create a new role with basic Lambda permissions)
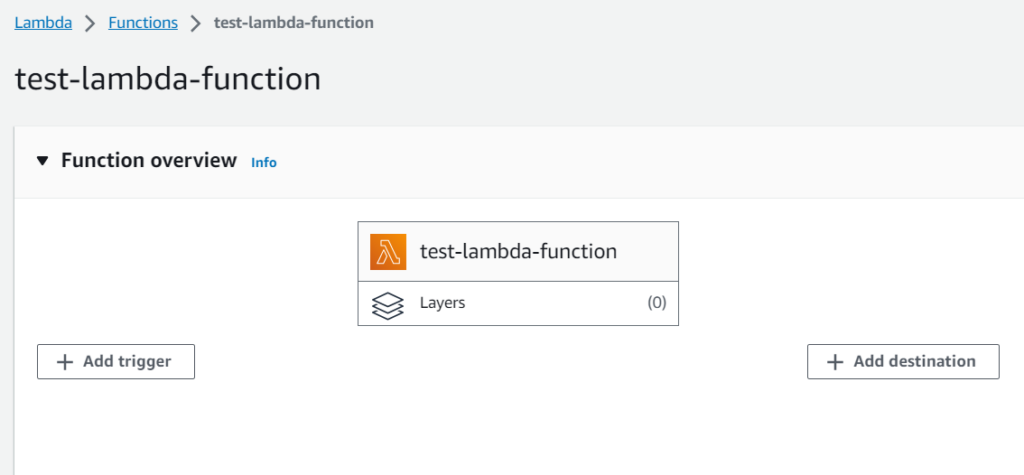
You’ll then see a window like this:
And a section where you can write code and test it:
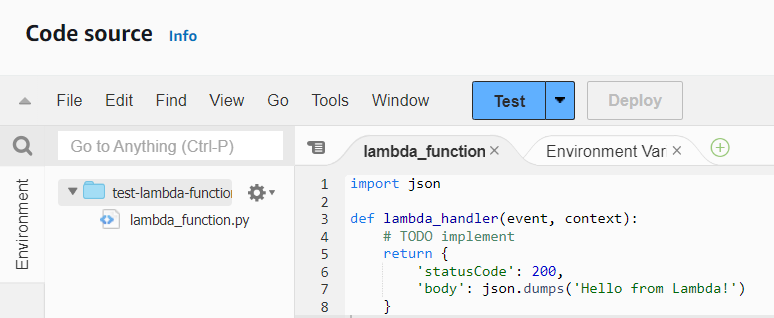
We need to write the code to take the input sent to the lambda and pass it to the model.
The first step is to define the endpoint. We can either do it through the code window or through an environment variable. Let’s do the second as it will allow us to change the endpoint without having to deploy the code again.
Go to Configuration and then to Environment variables:
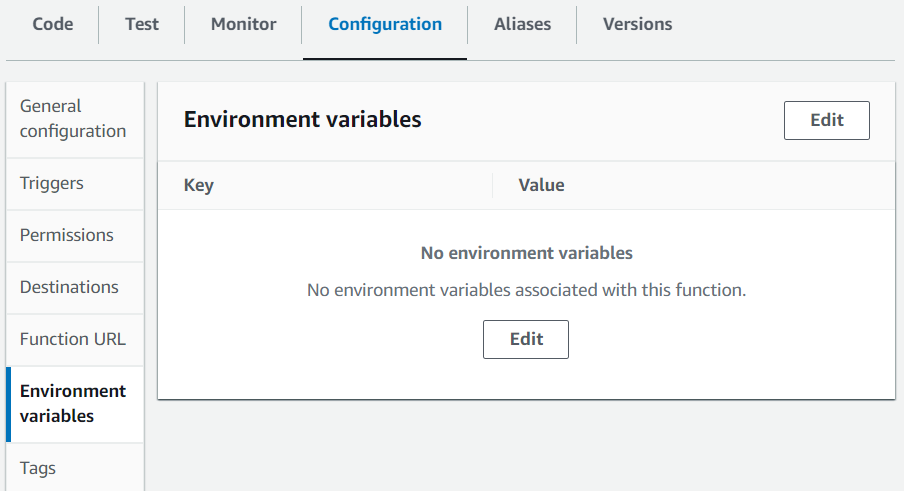
Press Edit and then Add environment variable:
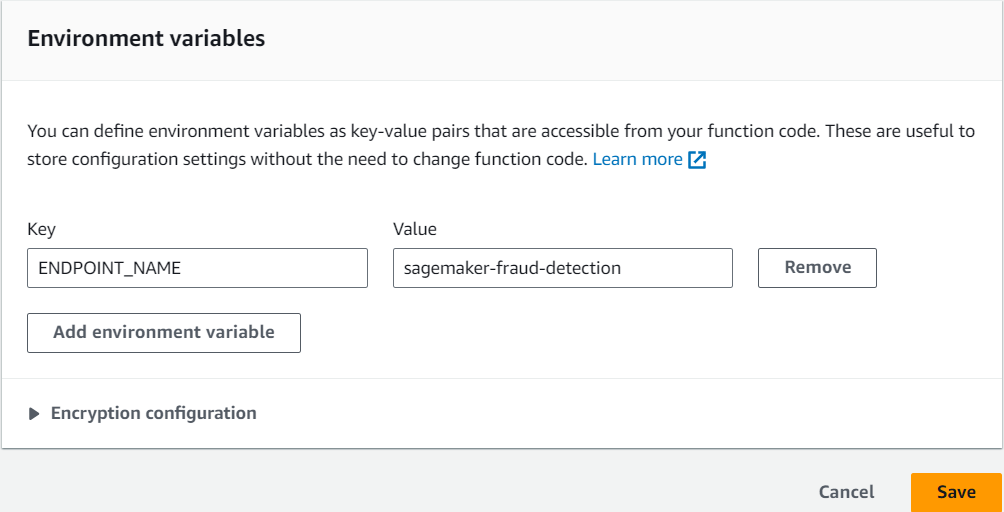
As the Key set ENDPOINT_NAME and set its value as the name of the endpoint you created before. Finally, save changes.
We will now set up a test event. Let’s take for example the first row of our test data. We format it as CSV in the notebook since that’s the format the model expects:
X_test.iloc[[0]].to_csv(header=False, index=False)'0.432554461820961,1.86137334473124,-4.31035306214219,2.44808047483365,4.574093674625041,-2.97991207512663,-2.79237913364276,-2.7198665191903504,-0.276703666493858,-2.3147471636848103,2.22296005779154,-0.407550442912615,-1.65231153851303,-5.87143807802568,-0.4276469570924021,1.67987296365444,5.540865318624281,3.20763696362324,-0.559479810847182,0.318852892094648,-1.3844768425902,-0.348903877586001,-3.9799478814166003,-0.828156262241172,-2.41944598182275,-0.767069606648857,0.3870389109292729,0.31940153451163106,1.0\n'
Copy it. Now click on the arrow and “Configure test event”:
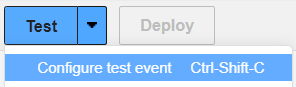
Paste it into the window. JSON format does not accept apostrophes, so change them for double quotation marks:
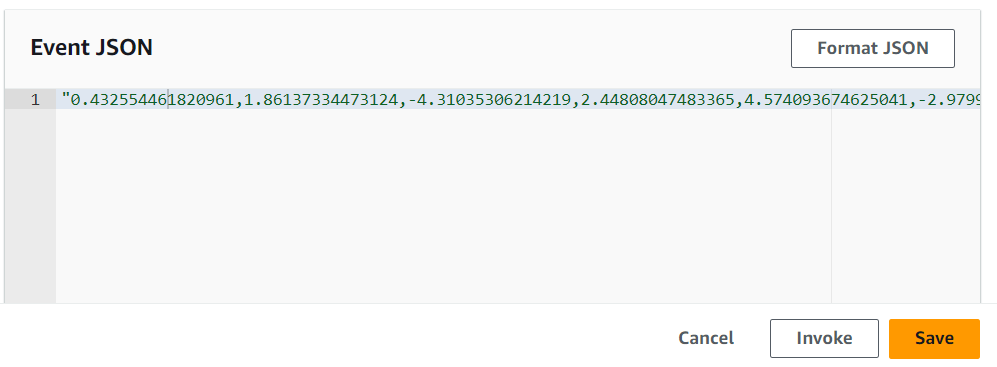
Give it a name and save it.
Let’s now write the function. The first step is to import libraries and initialize environment variables and the SageMaker runtime client:
import os
import boto3
import json

# Initialize environment variables
ENDPOINT_NAME = os.environ['ENDPOINT_NAME']

# Initialize SageMaker runtime client
runtime = boto3.client('runtime.sagemaker')
Next, we need to define the function lambda_handler:
- The content of the test event will be passed to the function through the
eventargument - Through
runtime.invoke_endpointwe can invoke the endpoint and send the input data to the deployed model - Finally, we need to process the response and make it ready for the output of the function
def lambda_handler(event, context):

  # Clean up the event format
  data = event.replace('\n', '').replace(' ', '')

  # Invoke the SageMaker endpoint
  response = runtime.invoke_endpoint(
    EndpointName=ENDPOINT_NAME,
    ContentType='text/csv',
    Body=data
  )

  # Parse the result and round it to the nearest integer
  result = json.loads(response['Body'].read().decode())
  pred = int(round(result, 0))

  return {
    'statusCode': 200,
    'prediction': json.dumps(pred)
    }
Save the file and deploy changes. After some seconds it will be ready to test.
Click on “Test” when it finishes. A new tab will open with the Execution results:
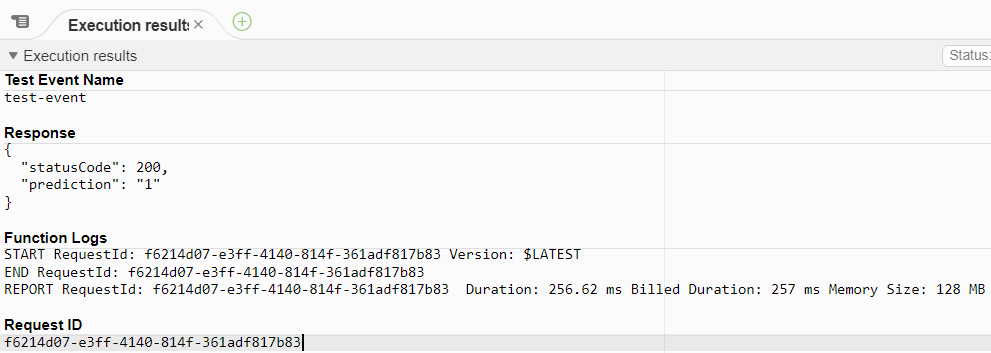
We can see that the prediction is “1”, which means that it was a fraudulent transaction! Let’s check if it was indeed fraudulent:
y_test.iloc[0]1
It was! We have now an operating AWS Lambda function with our model!
The complete content of the file we used is:
import os
import boto3
import json

# Initialize environment variables
ENDPOINT_NAME = os.environ['ENDPOINT_NAME']

# Initialize SageMaker runtime client
runtime = boto3.client('runtime.sagemaker')

def lambda_handler(event, context):
    """
    AWS Lambda handler function that invokes a SageMaker endpoint for predictions.

    Parameters:
    - event (str): The payload to send to the SageMaker endpoint. Assumes the payload is in CSV format.
    - context (object): AWS Lambda context object (not used in this function).

    Returns:
    - dict: Contains the statusCode and the prediction result in the body.
    """

    # Clean up the event format
    data = event.replace('\n', '').replace(' ', '')

    # Invoke the SageMaker endpoint
    response = runtime.invoke_endpoint(EndpointName=ENDPOINT_NAME,
                                       ContentType='text/csv',
                                       Body=data)

    # Parse the result and round it to the nearest integer
    result = json.loads(response['Body'].read().decode())
    pred = int(round(result, 0))

    return {
        'statusCode': 200,
        'prediction': json.dumps(pred)
    }
You can use AWS Lambda in conjunction with Amazon API Gateway to create a serverless API that invokes your Amazon SageMaker endpoint. Here is a high-level overview of the next steps you can take to achieve this:
- Create an API Gateway: Set up an API Gateway that triggers the Lambda function in response to HTTP requests.
- Provide the API Endpoint to Your Customer: Once everything is set up, you can give the API endpoint URL to your customer. They can then send requests to this URL and receive predictions from your model.
This approach allows you to expose your machine learning model as a REST API, which can be easily consumed by your customer’s applications. Additionally, since both Lambda and API Gateway are serverless, you don’t have to worry about managing servers, and you can scale automatically based on the incoming traffic!


0 Comments